


A database dump is essentially a backup of a database - be it the structure of the database and/or the data held within it. It consists of a bunch of SQL commands which enable you to recreate your database from scratch.
Generating a database dump has multiple uses - such as in the event of data loss or if you wanted to rename a database (there seems to be no good way to do this in MySQL (╯°□°)╯︵ ┻━┻). For me, I wanted to be able to duplicate a database that we had running in our development environment so that I could have my own version and run everything locally 💯.
It is possible to create a database dump using a command line utility such as Mysqldump, though I’m currently using MySQL Workbench so I’m going to walk you through how to do this using said GUI.
Exporting data
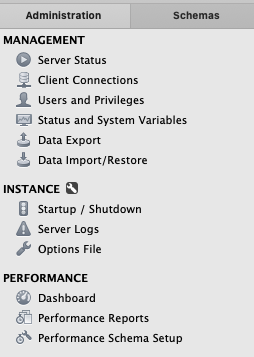
Inside of the administration tab in MySQL Workbench, there are two headings that we’re going to make use of - ‘Data Export’ and ‘Data Import/Restore’. First let’s click into the ‘Data Export’ header to export the data/structure of the database.
Here we are shown the list of databases that we can export from. If this list isn’t accurate, try the ‘Refresh’ button. Once you have selected the database you want, you can control which tables you wish to export using the checkboxes.
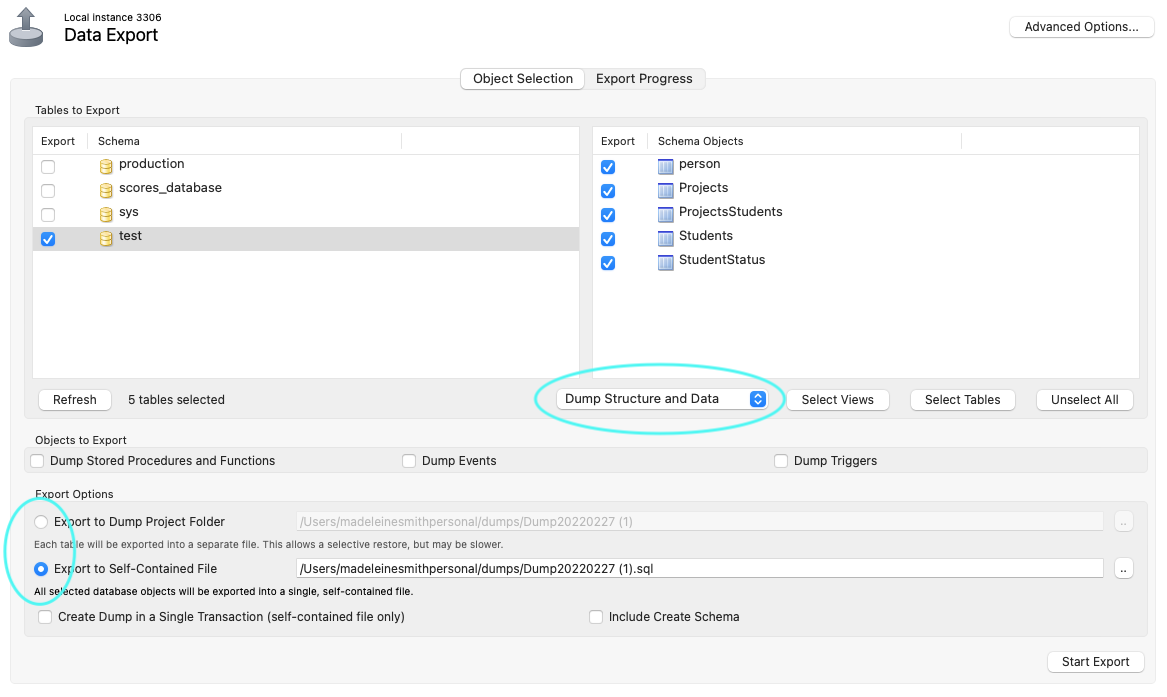
This page also allows you to select exactly what you wish to dump - be it the structure, or the data, or both. As I wish to copy over my database called ‘test’ to a new database, I’m going to leave this option as ‘Dump Structure and Data’.
Also on this screen you can select whether to export to a single ‘dump’ file or multiple files (in a ‘dump’ folder) - one for each table you’ve selected. I tend to leave this option as creating a single file. Once happy, click ‘Start Export’ and you’ll see the log of the export. Once this is completed, you can navigate to the path specified on the previous screen to view your dump file/folder.
Importing data
When you want to import your data/structure, head over to the ‘Data Import/Restore’ header. On this page, you are able to select the dump file/folder you wish to import.
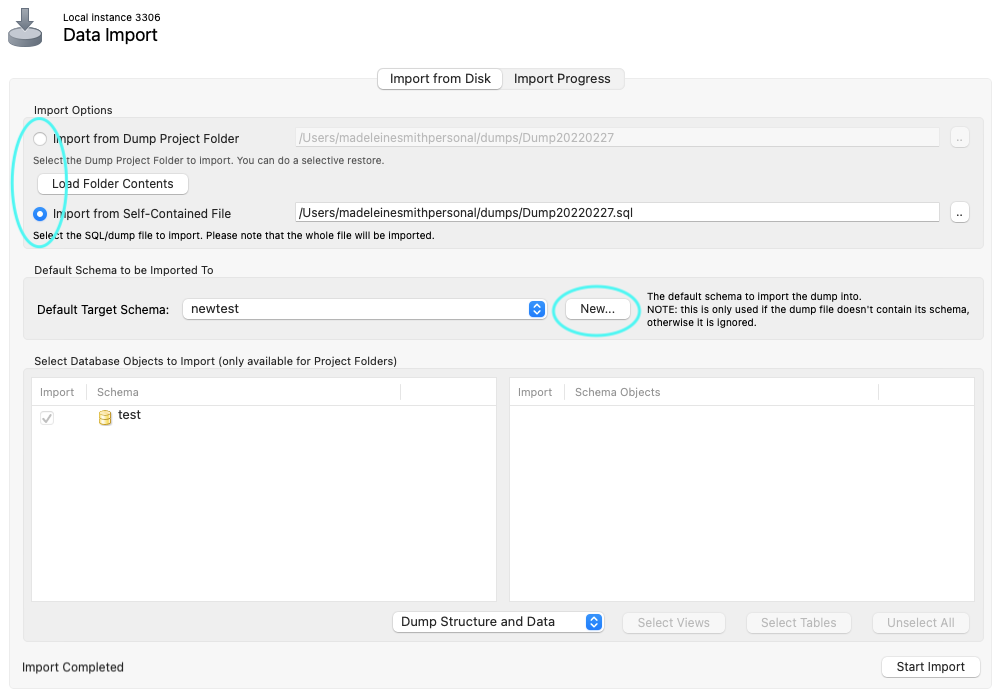
If you wish to create a new database to house your export, you can do so on this page by hitting the ‘New’ button. FYI: this database is created as soon as you hit ‘OK’ - not when the import is actually being carried out.
N.B. I found that when I was importing from a dump folder (not when using a single dump file), I had to change the database name found in a comment near the top of each file to reflect the name of the new database e.g.
-- Host: localhost Database: newtestThis find and replace can be done easily on multiple files using a tool such as Atom - simply open up the project folder and hit
Cmd+Shift+Fto do a global find and replace.
Once happy, hit ‘Start Import’ and once again a log will be outputted. This could take some time depending on how much data there is to import.
After this is completed, click into your new database and marvel at the tables which have magically been copied over 😍
In need of a back-end engineer for your project? Get in touch to hire me for contract work 💯