


Ah, assigning a custom domain. Something I seem to do every few years and it frustrates me every time. Probably because I do it so infrequently and the feedback loop isn’t immediate - changes take time to propagate. Hey ho, looks like I wasn’t a dev ops engineer in a previous life 😜. Anyway here is what I figured out if you don’t fancy struggling like me.
As a bit of background, I recently bought a custom domain and email hosting through 123 Reg. 123 Reg is a British domain registrar which has some very tempting deals if you’re a cheapskate like me (99p for the first year of a domain, £10 normally - bargain!). Though you have to put up with a UI that looks like it’s from 2008. Swings and roundabouts, eh?
I had used Netlify to host my site and wanted to assign this newly-bought domain. Although the following is going to be specific to using 123 Reg, I assume the process will entirely similar with whatever provider you’re using.
Adding DNS records in your domain provider
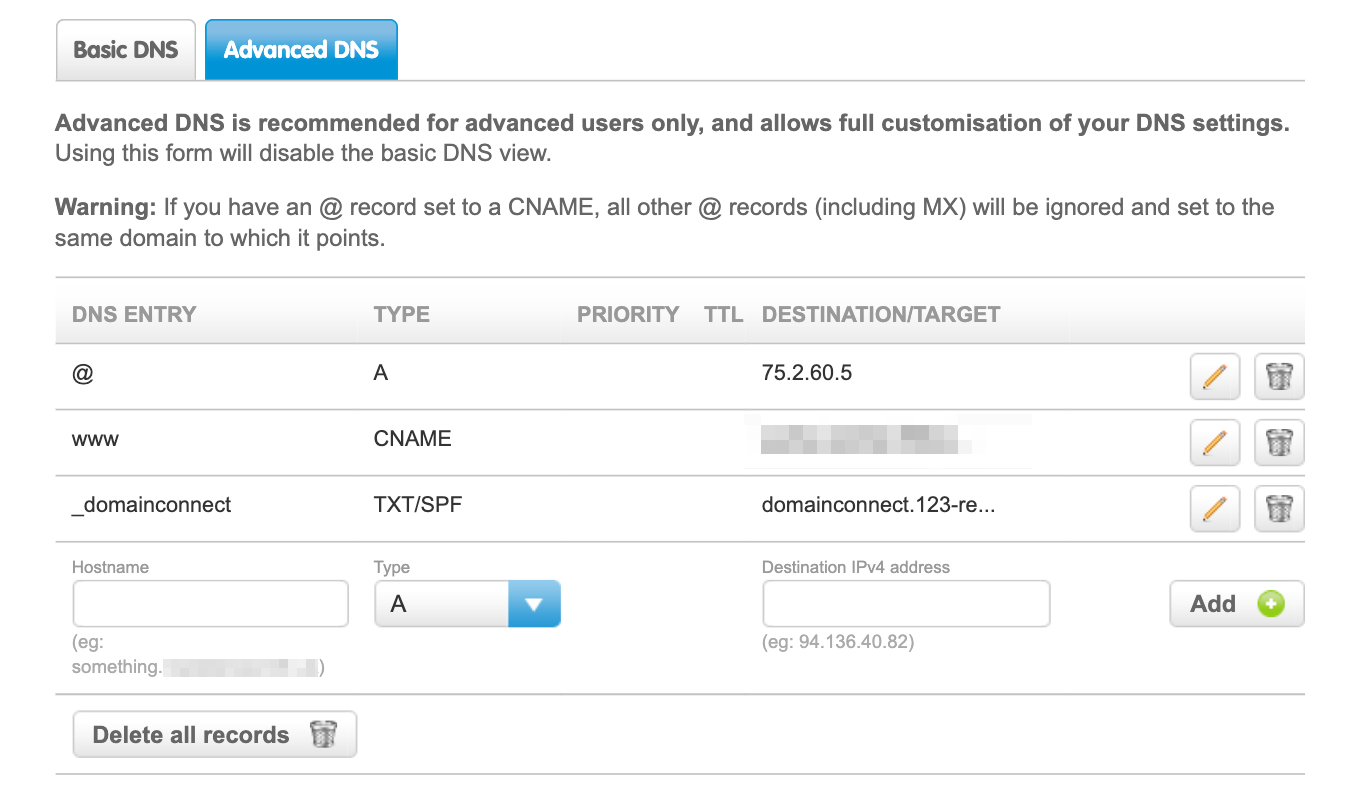
To start, you need to access your DNS records in your domain provider. For 123 Reg, this is done through Manage Domain → Manage DNS (A, MX, CNAME, TXT, SRV) → Advanced DNS. On this page you need to the following two records:
| DNS Entry | Type | Destination/ target |
|---|---|---|
www | CNAME | <automatically-generated-name>.netlify.app |
@ | A | 75.2.60.5 |
For the A record it’s probably best to check if the IP address of Netlify’s load balancer is still the same as of the time of writing.
After adding these two records, I then deleted the other pre-existing A records on 123 Reg - I don’t know if this is necessary or not but I thought there could be a potential conflict there.
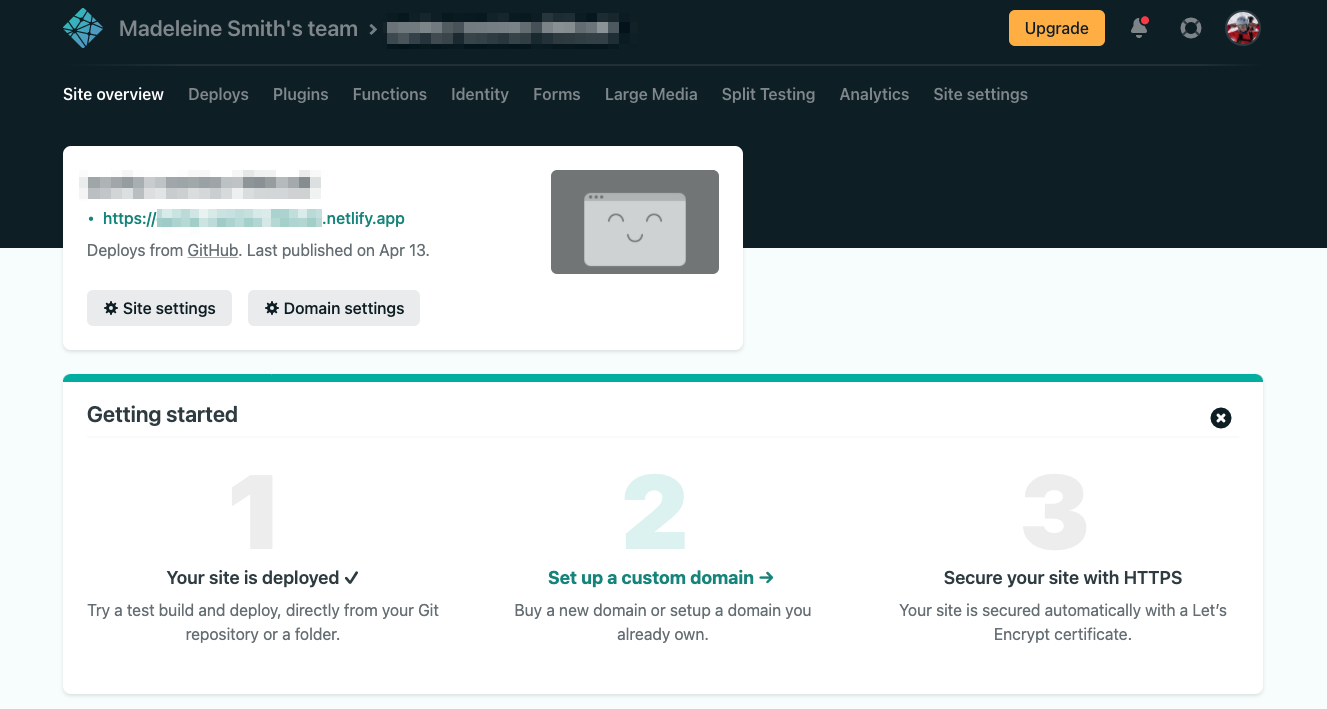
Domain management in Netlify
Now it’s time to head over to Netlify. Go to your homepage → set up a custom domain
Enter your domain to verify it: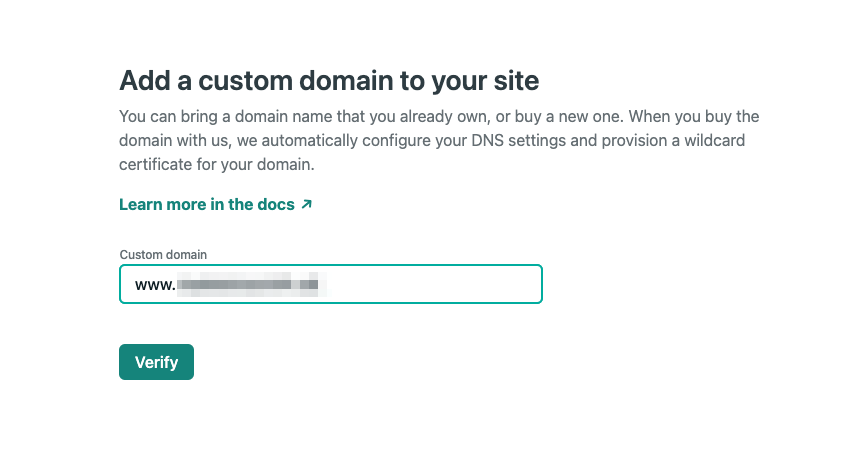
Once the above is completed, you’ll be taken through to a new page where you need to click on ‘Set up Netlify DNS’ in the dropdown: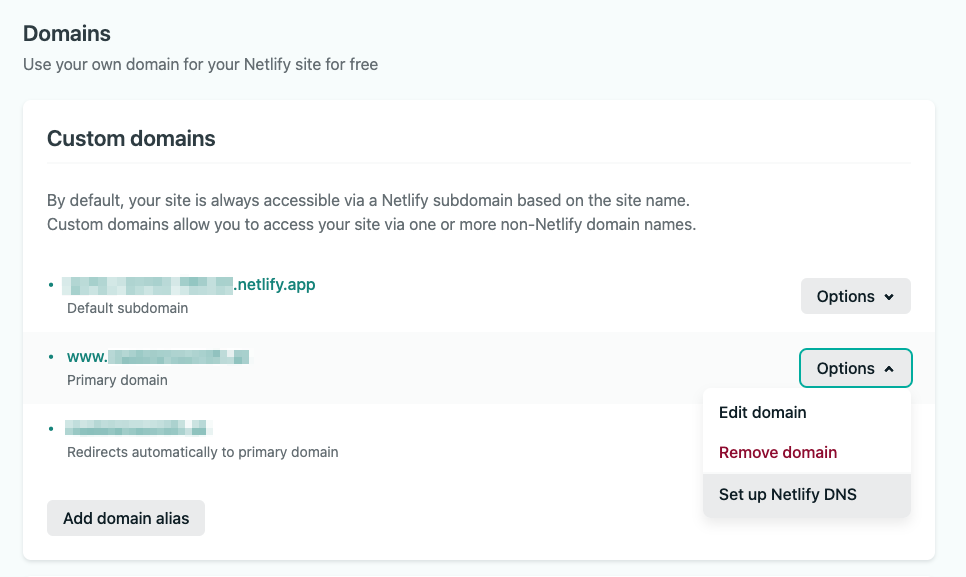
If you have email set up with your domain provider you will need to copy over your MX records to Netlify. Don’t be a goon like me and not read these instructions and then wonder why my email has mysteriously stopped working 😭. Copy these records over directly and then feel free to delete them from your domain provider: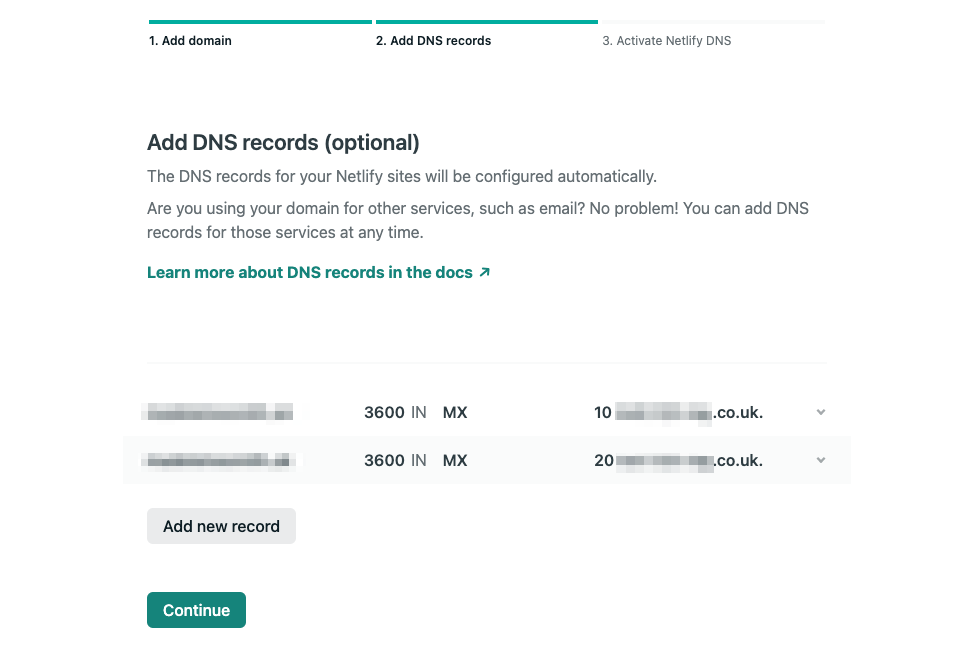
Updating name servers in your domain provider
Next you need to update your name servers in your domain provider. For 123 Reg, this is done through Manage Domain → Change Nameservers (DNS). Then simply copy/paste the name servers specified on Netlify. This can take some time to propagate so just sleep on it if it’s not immediately working - don’t fret: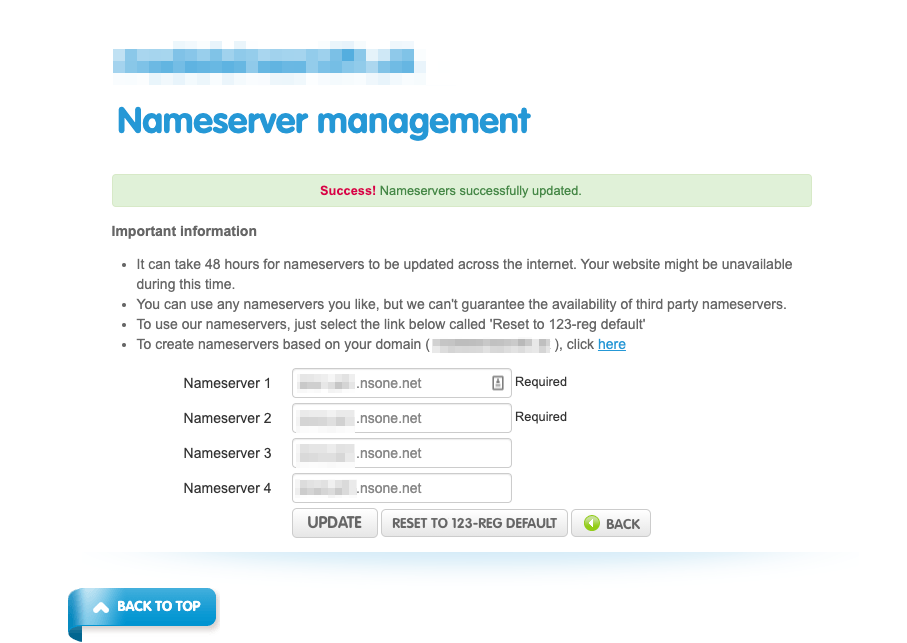
Enabling IPv6
You can also enable IPv6 on your domain by navigating to the domain management page and hitting the ‘enable IPv6’ button. My understanding of IPv6 is that is enables your site to have a greater reach worldwide because in some areas IPv4 is not possible due to the lack of IP addresses (more info here). Once this is done you should see 2 extra DNS records added.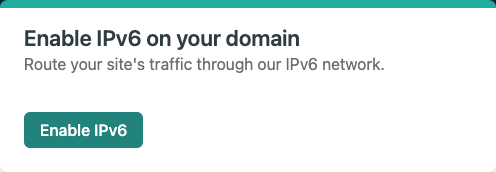
🇫🇷 Fin
And there we have it - your site should be up and running at your custom domain 🤞. I hope this saves you buckets of frustration.
In need of a back-end engineer for your project? Get in touch to hire me for contract work 💯